Build a real-time AI vision system on Raspberry Pi using YOLO, Python, OpenCV, and Thonny. In this step-by-step CraftyRobotics tutorial, you’ll learn how to add YOLO object detection to your existing virtual environment and run real-time object recognition using a USB webcam. Perfect for AI robots, smart cameras, automation projects, and Raspberry Pi computer vision.
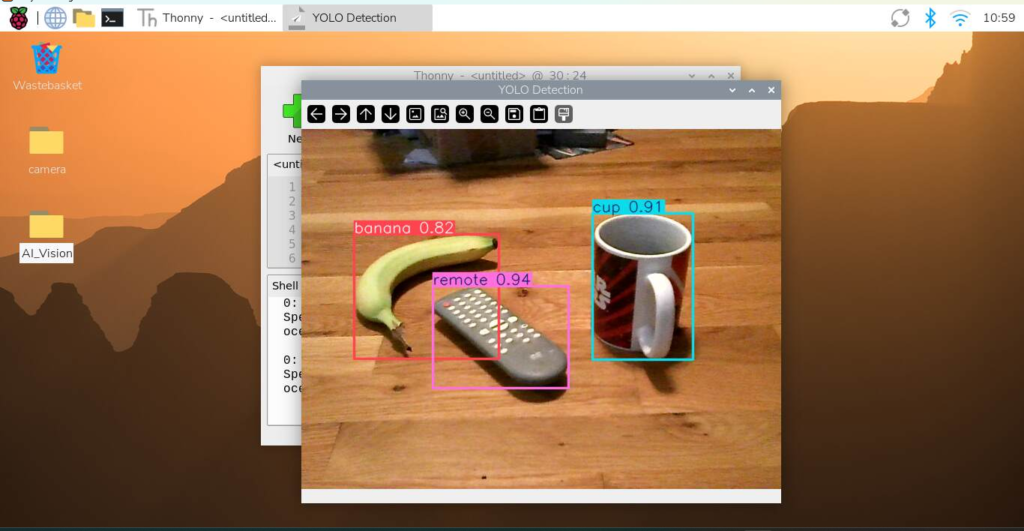
Add YOLO to Your Existing Raspberry Pi Virtual Environment.
What You Will Need
Hardware
- Raspberry Pi 3, 4, or 5.
- USB Camera.
Software
Before starting this tutorial, you should already have:
- OpenCV installed.
- a virtual environment set up
If not already installed, follow the CraftyRobotics tutorial on Virtual Environments.
Step 1 — Activate Your Virtual Environment
We will be using the CraftyRobotics virtual environment created in the CraftyRobotics tutorial on virtual environments.
From the Raspberry Pi desktop, open a terminal.
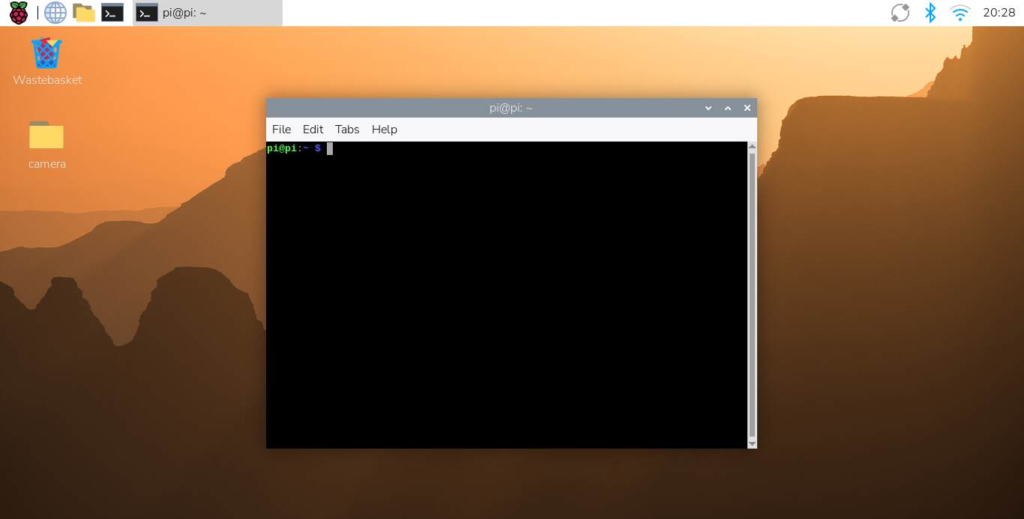
Update Raspberry Pi:
In terminal enter:
sudo apt update
sudo apt upgrade -y
This will take a few minutes to complete.
Activate the Virtual Environment:
Activate the Virtual Environment by entering.
source crafty_env/bin/activateIf you are using a different virtual environment, replace "crafty_env" with the name of your virtual environment.
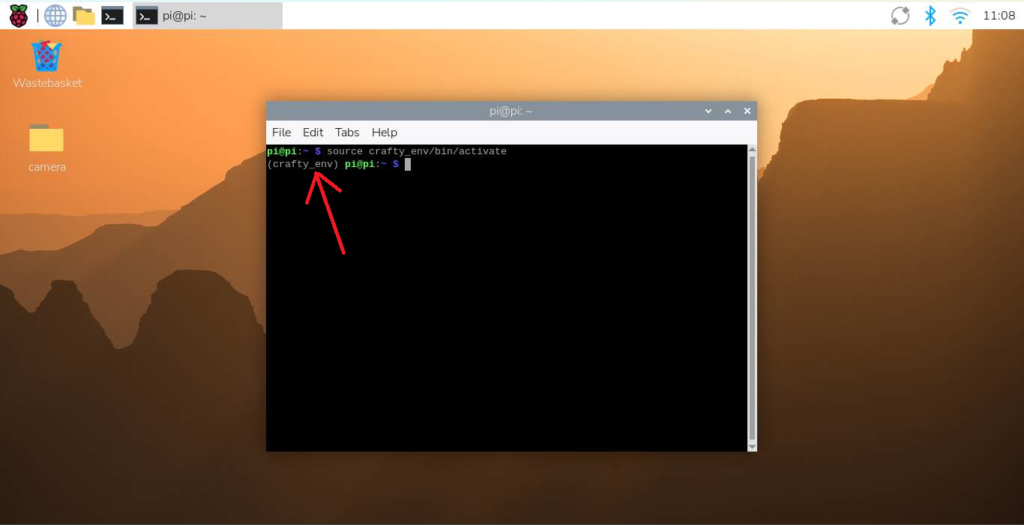
Your terminal will now look like this:
(crafty_env) pi@raspberrypi:~ $That (crafty_env) at the beginning means you are inside the virtual environment.
Install YOLO
In the terminal, enter:
pip install ultralyticsThis may take some time on Raspberry Pi. Almost an hour on my system.
Ultralytics a powerful system that makes machine vision and object detection much easier to use with Python.
Once Ultralytics has completed close the terminal.
Step 2 — Create a new folder for our program
Create a new folder for the YOLO project files..
This helps keep:
- Python files
- models
- images
- project files
organized in one location.
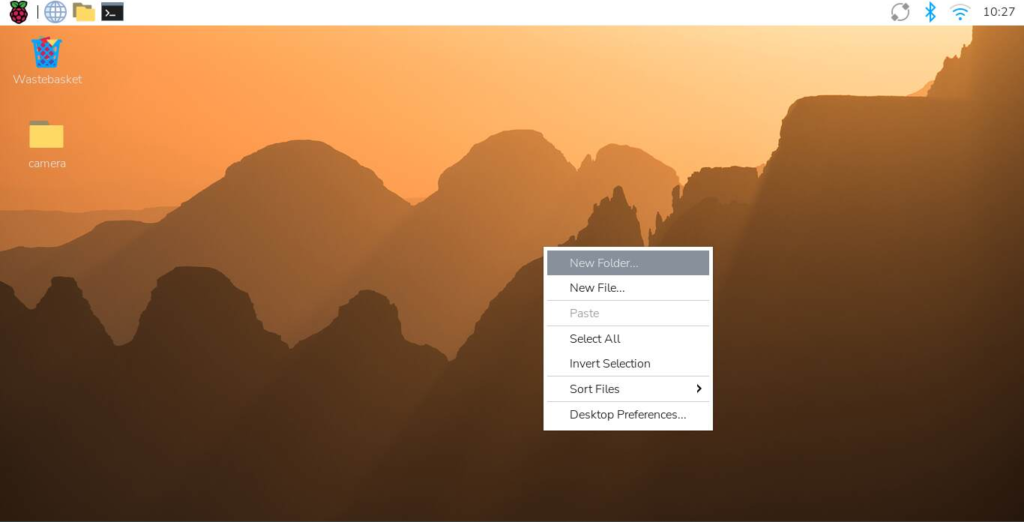
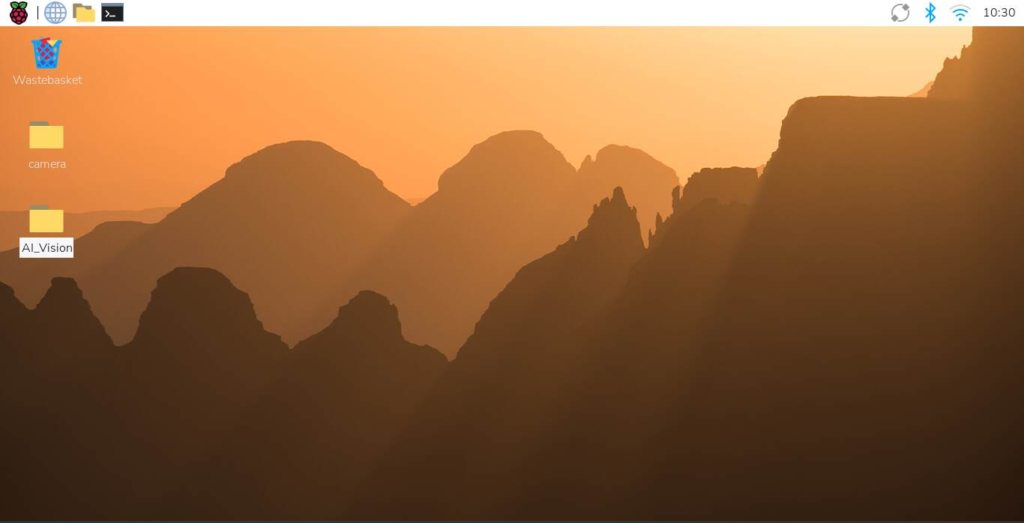
Click on the desktop, then right-click and select “New Folder”. Name the new folder “AI_Vision”.
Step 3 — Open Thonny
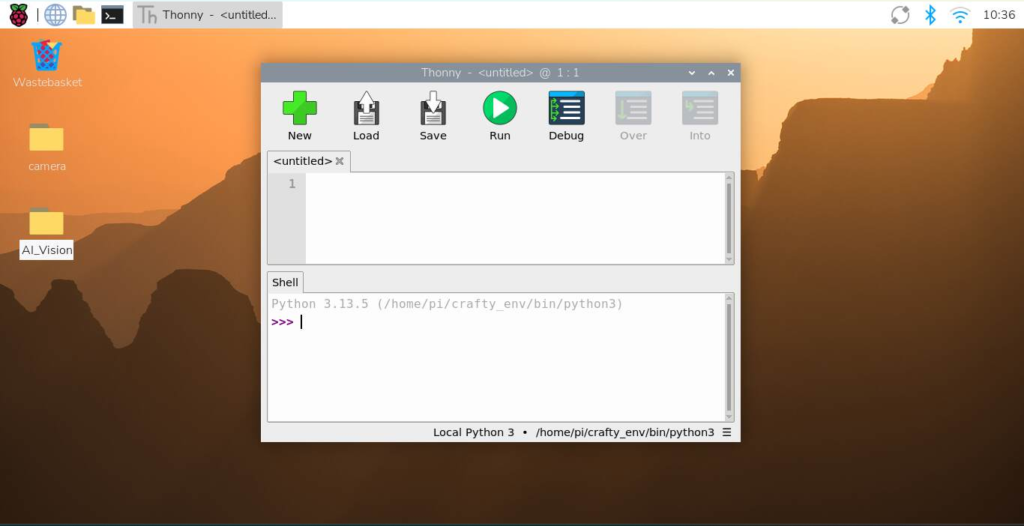
Launch Thonny from the Raspberry Pi menu.
Step 4 — Check Thonny Interpreter
Check to make sure Thonny is connected to the virtual environment.
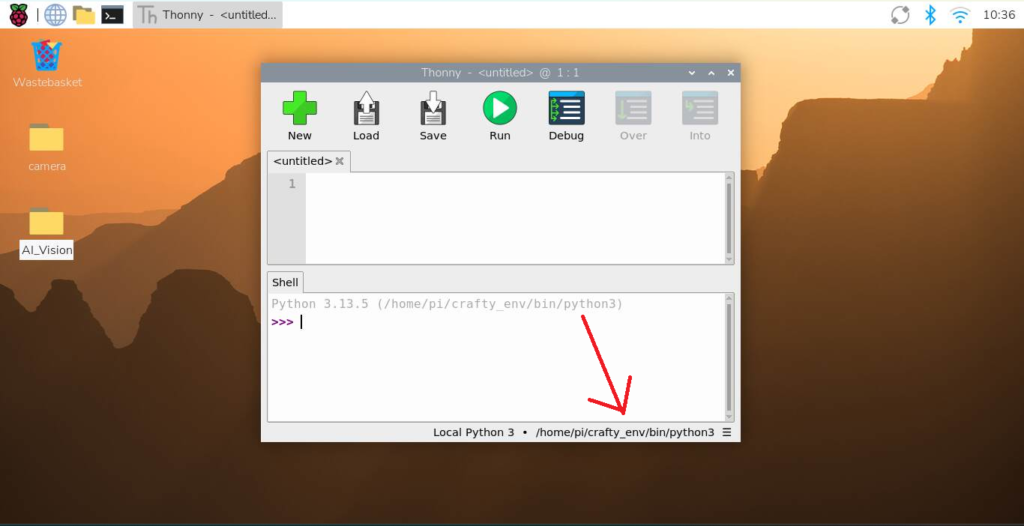
You should see the path to the virtual environment and the interpreter (python3) in the lower-left corner of the Thonny window. If not, follow the CraftyRobotics tutorial on virtual environments.
/home/pi/crafty_env/python3Step 5 — Create the YOLO Program
Copy the code below and paste it into the Thonny editor (upper window). A description of the code will be provided at the end of the tutorial.
from ultralytics import YOLO
import cv2

# Load YOLO model
model = YOLO("yolov8n.pt")

# Open webcam
cap = cv2.VideoCapture(0)

while True:
    ret, frame = cap.read()

    if not ret:
        break

    # Run object detection
    results = model(frame)

    # Draw detection boxes
    annotated_frame = results[0].plot()

    # Show video
    cv2.imshow("YOLO Detection", annotated_frame)

    # Press Q to quit
    if cv2.waitKey(1) & 0xFF == ord('q'):
        break

cap.release()
cv2.destroyAllWindows()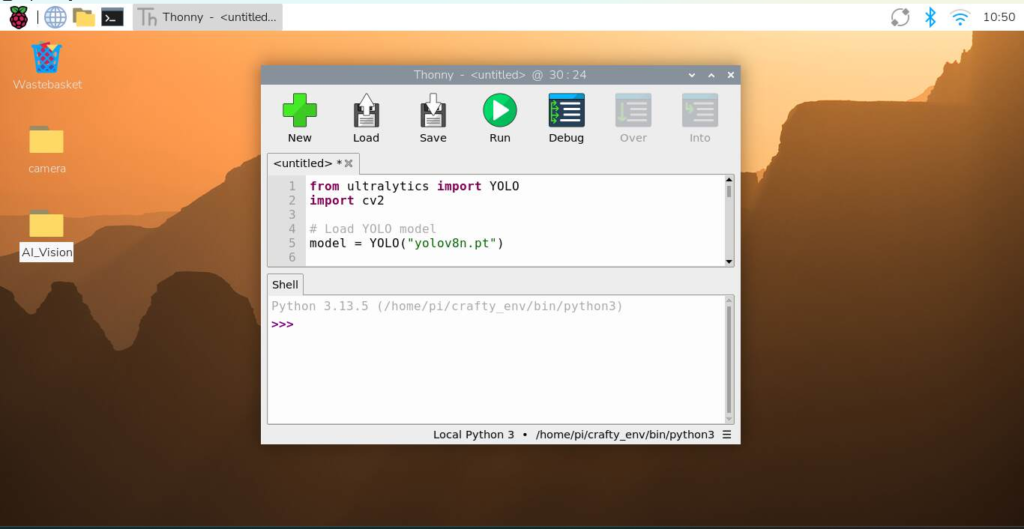
Step 6 — Save the Program
Click Save, navigate to the AI_Vision folder, and name the file yolo_test.py and click enter.
yolo_test.pyStep 7 — Run the Program
Click the green Run button in Thonny.
The first launch downloads the YOLO model automatically.
After that:
- the webcam opens
- objects are detected
- labels appear on screen in real time
Code Description
This program uses YOLO (You Only Look Once) and OpenCV to perform real-time object detection using a USB camera connected to the Raspberry Pi.
The program starts by importing:
YOLOfrom Ultralytics for AI object detectioncv2from OpenCV for camera access and video display
from ultralytics import YOLO
import cv2
Next, the YOLO model is loaded.
model = YOLO("yolov8n.pt")The yolov8n.pt model is a lightweight version of YOLO designed to run efficiently on systems like the Raspberry Pi.
The webcam is then opened using OpenCV.
cap = cv2.VideoCapture(0)0 tells OpenCV to use the default USB camera.
The program then enters a continuous loop where it:
- captures a video frame
- sends the frame to YOLO
- detects objects
- draws detection boxes and labels
- displays the updated video feed
results = model(frame)YOLO analyzes the image and identifies objects such as:
- people
- bottles
- keyboards
- cups
- chairs
The detected objects are then drawn onto the frame.
annotated_frame = results[0].plot()This automatically adds:
- bounding boxes
- labels
- confidence scores
to the video feed.
The updated frame is displayed in a window titled:
YOLO DetectionFinally, the program checks if the Q key is pressed.
if cv2.waitKey(1) & 0xFF == ord('q'):If Q is pressed:
- the loop stops
- the camera closes
- all OpenCV windows are cleaned up safely
This creates a simple but powerful real-time AI vision system on Raspberry Pi using Python, OpenCV, and YOLO.
What’s Next?
- AI robot vision
- Object tracking
- Smart security cameras
- Motion-triggered AI detection
- Face detection
- Autonomous navigation
- Garden robotics
- Real-time image capture
You can also experiment with:
- different YOLO models
- faster camera settings
- custom-trained AI models
- multiple cameras