Want to turn a USB camera into a live video feed on your Raspberry Pi?
In this tutorial, we’ll walk through step-by-step how to use a USB webcam with OpenCV inside a Python virtual environment.
By the end, you’ll have a working live camera feed — perfect for future AI and computer vision projects.
What We’re Building
We’re creating a real-time video stream from a USB camera using Python.
This is the foundation for:
Motion detection
Object tracking
AI vision projects
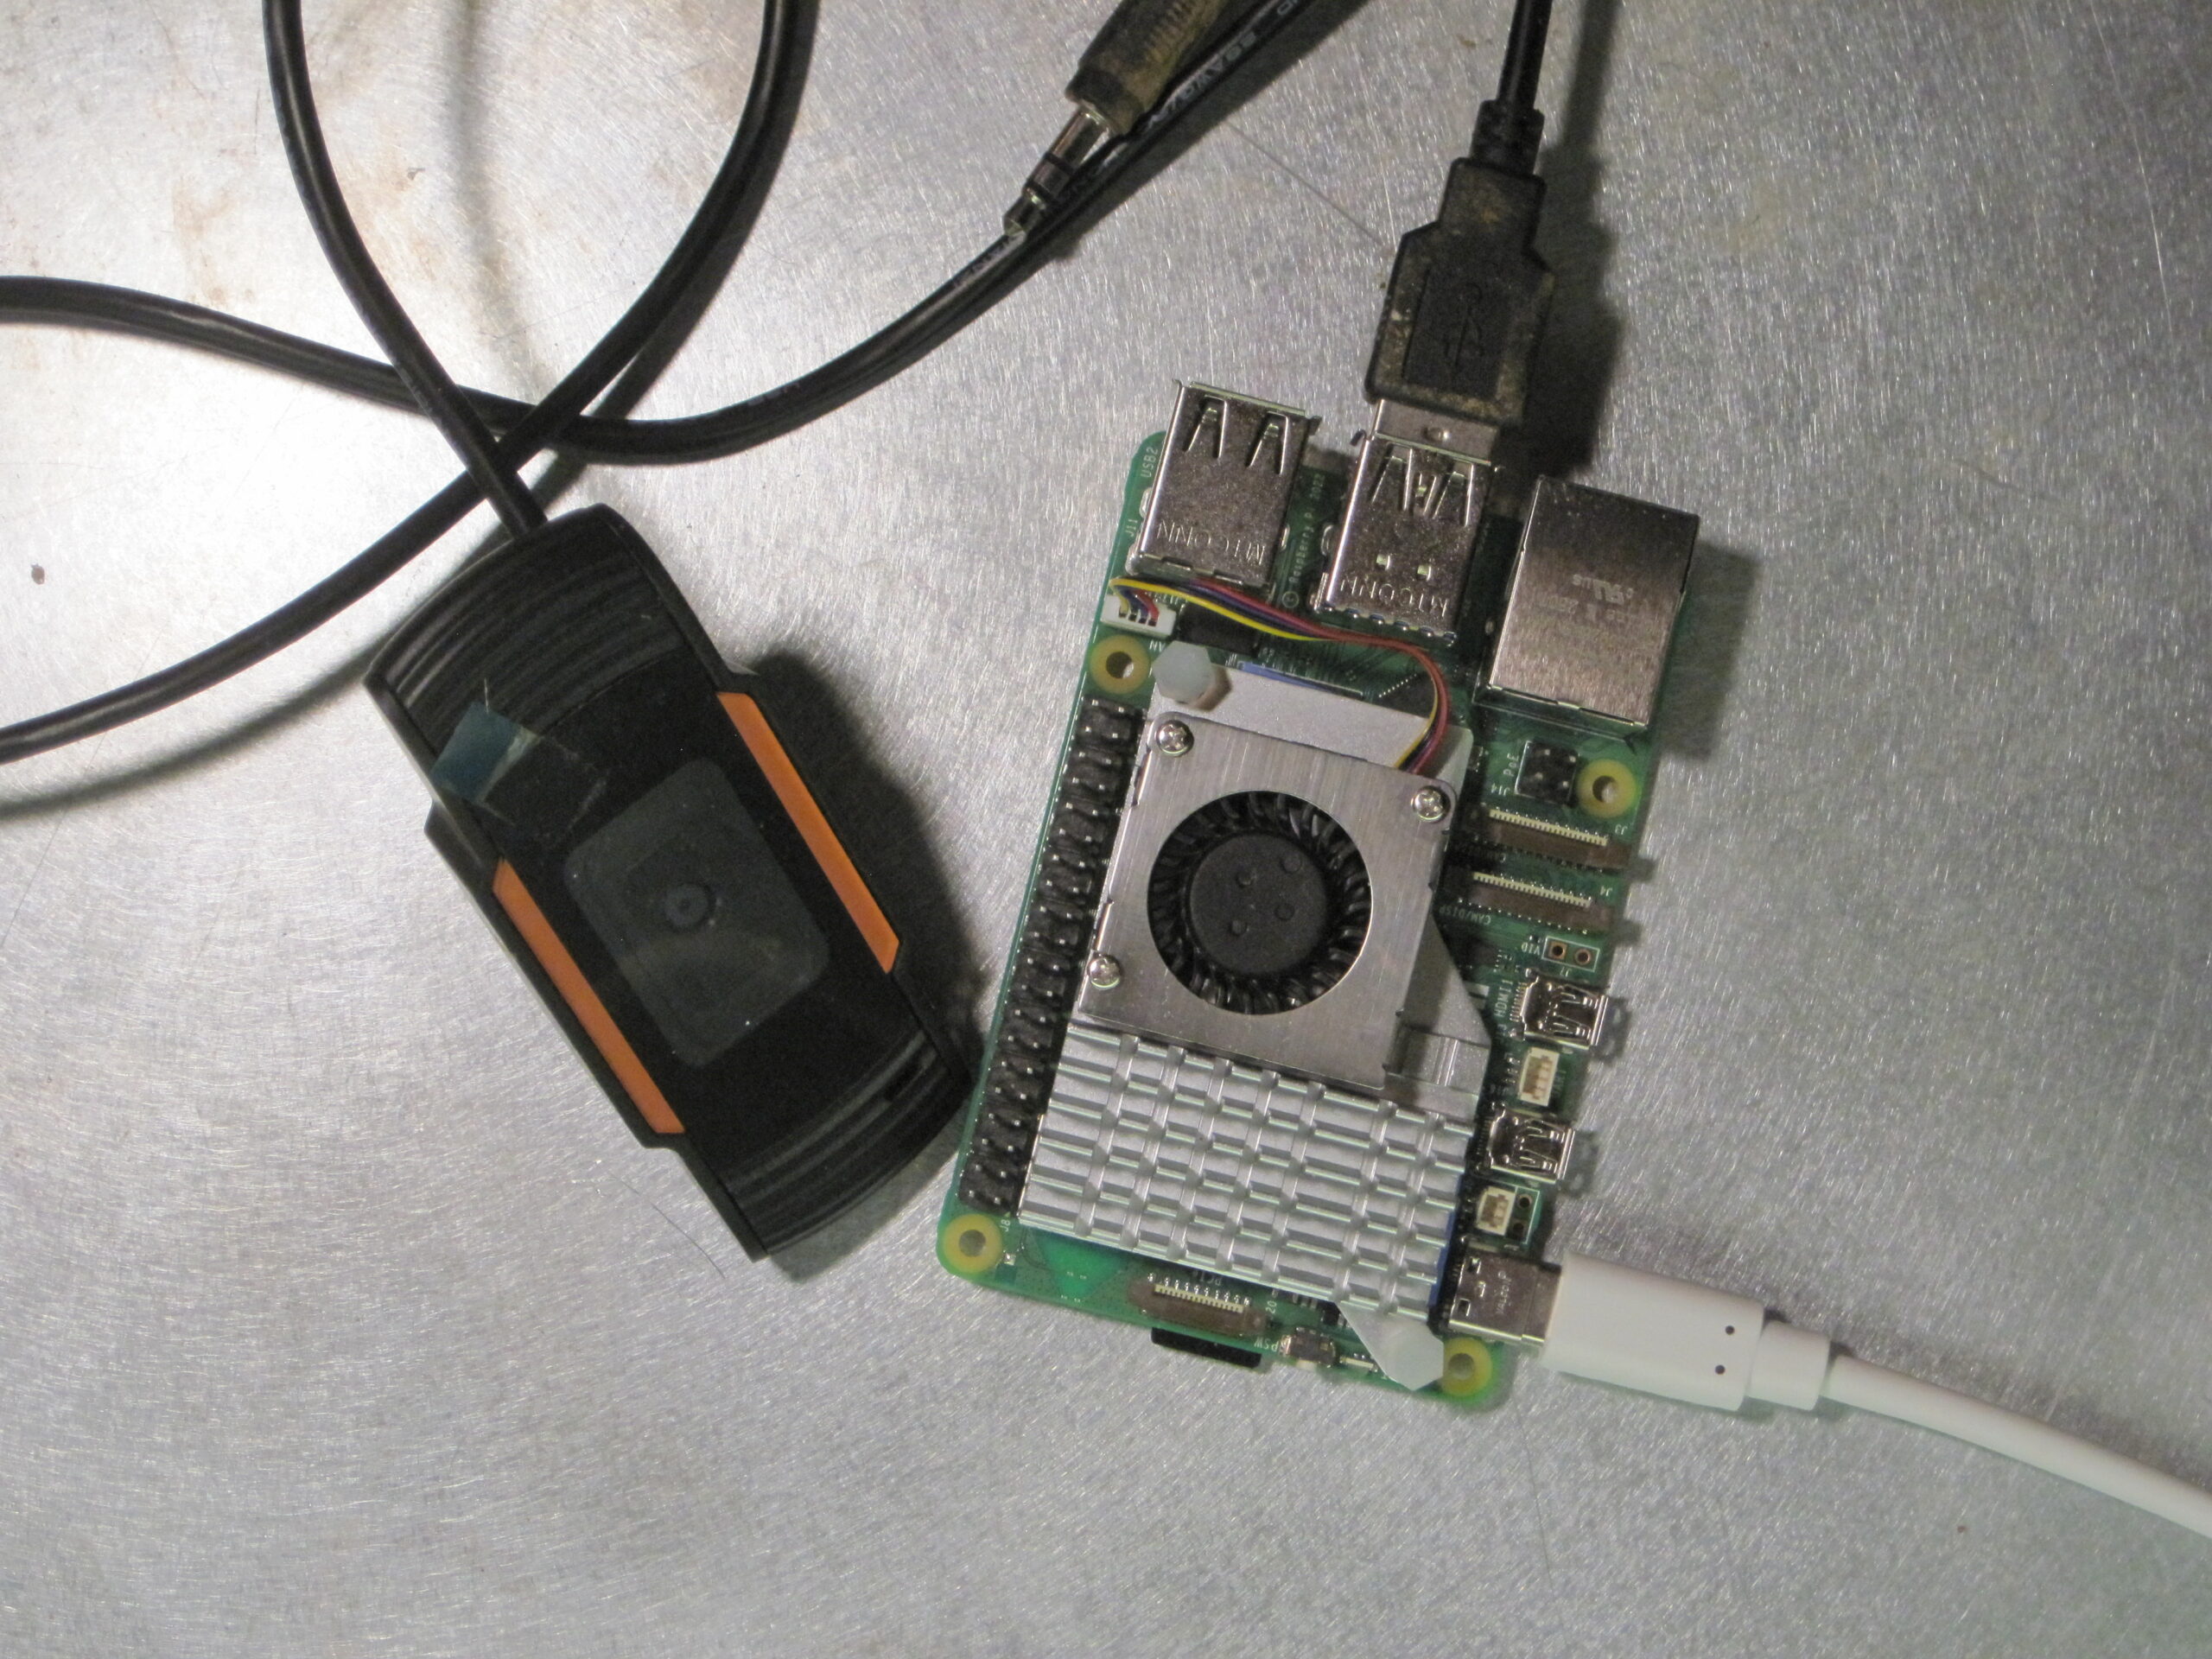
STEP 1: Connect Your USB Camera.
Plug your USB camera into the Raspberry Pi. Most webcams are detected automatically.
No drivers are usually required.
STEP 2: Verify the Camera.
Open a terminal on your Raspberry Pi.
Run this command:
ls /dev/video*Expected output:
/dev/video0If you see /dev/video0, your camera is ready to use.
STEP 3: Activate Virtual Environment.
If you followed our previous tutorial, activate your virtual environment.
We will be using the Crafty Robotics virtual environment, but you can use any virtual environment you prefer.
in terminal type:
source crafty_env/bin/activateYou should see:
(crafty_env) pi@raspberrypi:~ $STEP 4: Verify OpenCV Installation.
Before continuing, let’s quickly confirm OpenCV is installed:
python3Then inside Python:
import cv2If no errors appear, you’re ready to continue.
Exit Python with:
exit()If no errors appear, you’re ready to continue.
⚠️ If You Get an Error
If cv2 is not found, install OpenCV with:pip install opencv-pythonDeactivate Virtual Environment
To exit the virtual environment, run:
deactivate✔ This returns you to the normal system Python
✔ You’ll no longer see (myenv) in the terminal
You can now close the terminal. We will be using Thonny to run our script.
STEP 5: Create and Run the Script in Thonny.
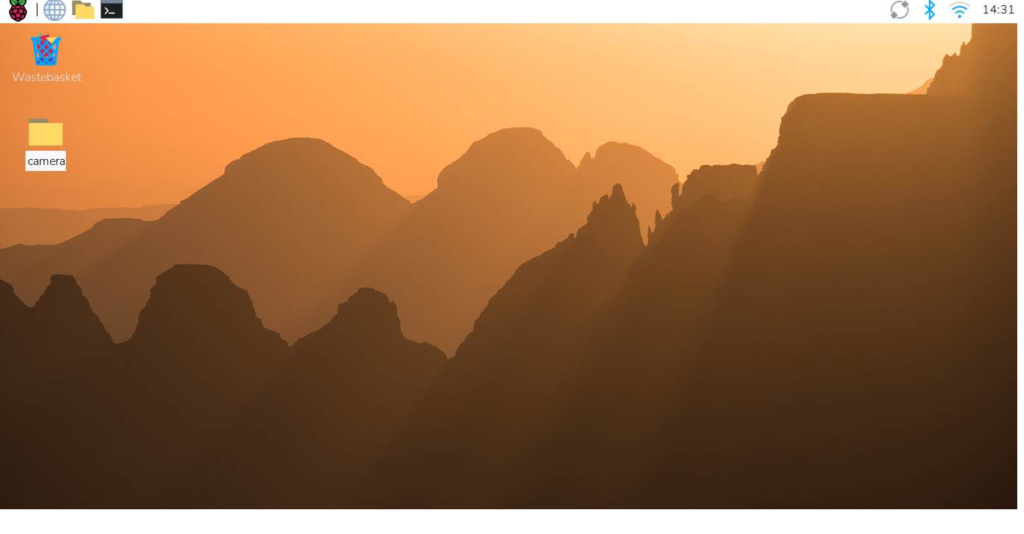
Create a new folder for our Python code:
Right click on the Raspberry Pi’s Desktop and click New Folder.
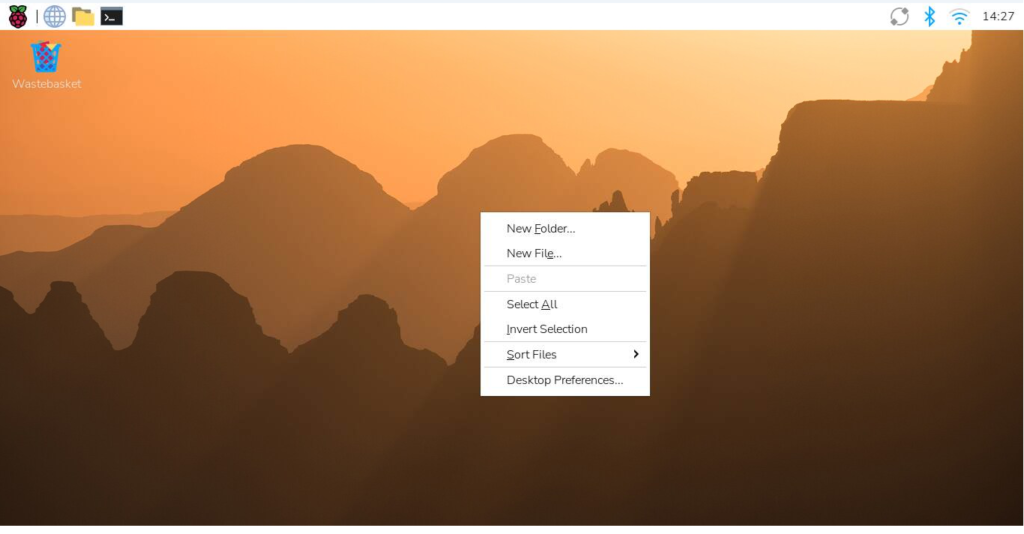
We call the new folder “camera”.
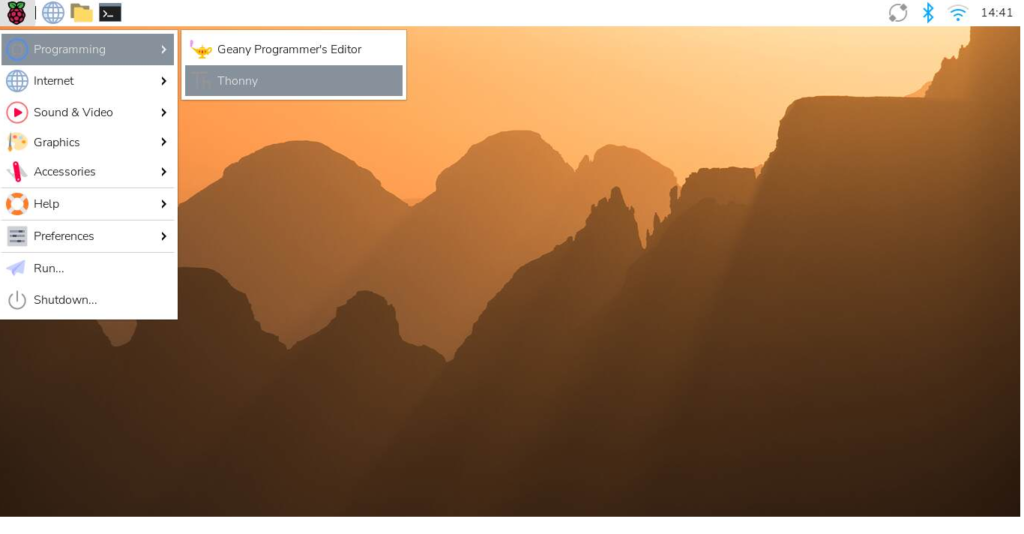
Open Thonny
Open Thonny IDE on your Raspberry Pi.
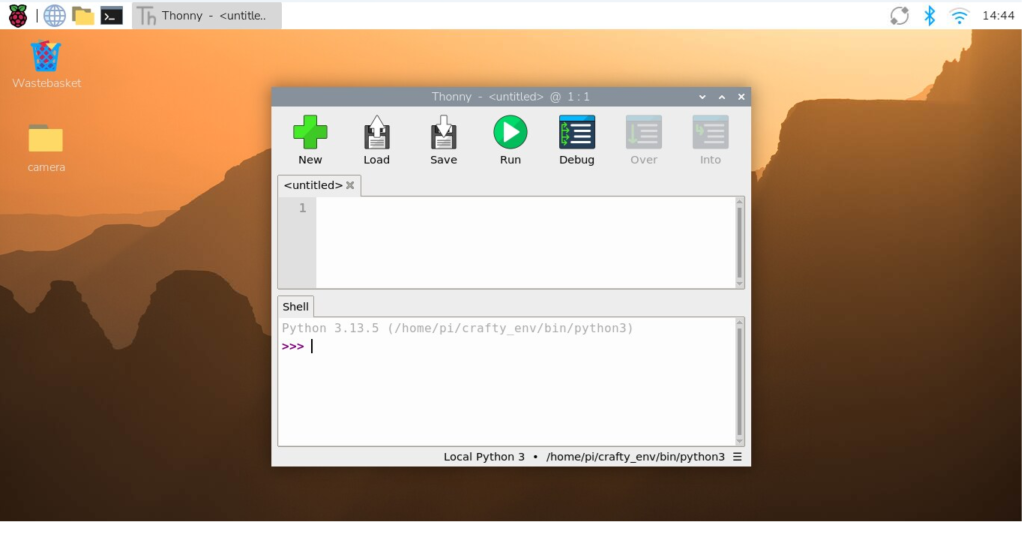
Create a New Python File
- Click File → New
- Save the file as camera.py in our camera folder:
camera.pyAdd the Following Code:
import cv2
from matplotlib import pyplot as plt

cap = cv2.VideoCapture(0)

plt.ion()  # Turn on interactive mode
fig, ax = plt.subplots()
im = None

while True:
    ret, frame = cap.read()
    if not ret:
        print("Failed to grab frame")
        break

    frame_rgb = cv2.cvtColor(frame, cv2.COLOR_BGR2RGB)

    if im is None:
        im = ax.imshow(frame_rgb)
        ax.axis('off')
    else:
        im.set_data(frame_rgb)

    plt.pause(0.01)  # Small pause to update the figure

    # Optional: stop loop on keyboard interrupt
    try:
        plt.gcf().canvas.flush_events()
    except KeyboardInterrupt:
        break

cap.release()
plt.close()
Below is a description of the code.
1. Import Libraries
import cv2
from matplotlib import pyplot as plt
cv2(OpenCV): Used to capture frames from the camera and perform image processing.matplotlib.pyplot: Used to display images in a window, as an alternative tocv2.imshow().
2. Open the Camera
cap = cv2.VideoCapture(0)
cv2.VideoCapture(0)connects to your default USB camera (0 is usually the first camera).capis the camera object you’ll use to grab frames.
3. Capture One Frame
ret, frame = cap.read()
- Reads one frame from the camera.
ret: Boolean flag;Trueif the frame was successfully captured,Falseotherwise.frame: The captured image stored as a NumPy array in BGR color format (Blue, Green, Red).
4. Release the Camera
cap.release()
- Frees the camera so other programs can use it.
- Always release the camera after capturing frames to avoid locking the device.
5. Display the Image
if ret:
    # Convert BGR (OpenCV) to RGB (Matplotlib)
    plt.imshow(cv2.cvtColor(frame, cv2.COLOR_BGR2RGB))
    plt.axis("off")
    plt.show()
plt.show() opens a window with the captured frame.
OpenCV stores images in BGR format, but Matplotlib expects RGB.
cv2.cvtColor(frame, cv2.COLOR_BGR2RGB) converts the color space.
plt.imshow(...) displays the image.
plt.axis("off") removes axes and labels for a cleaner view.
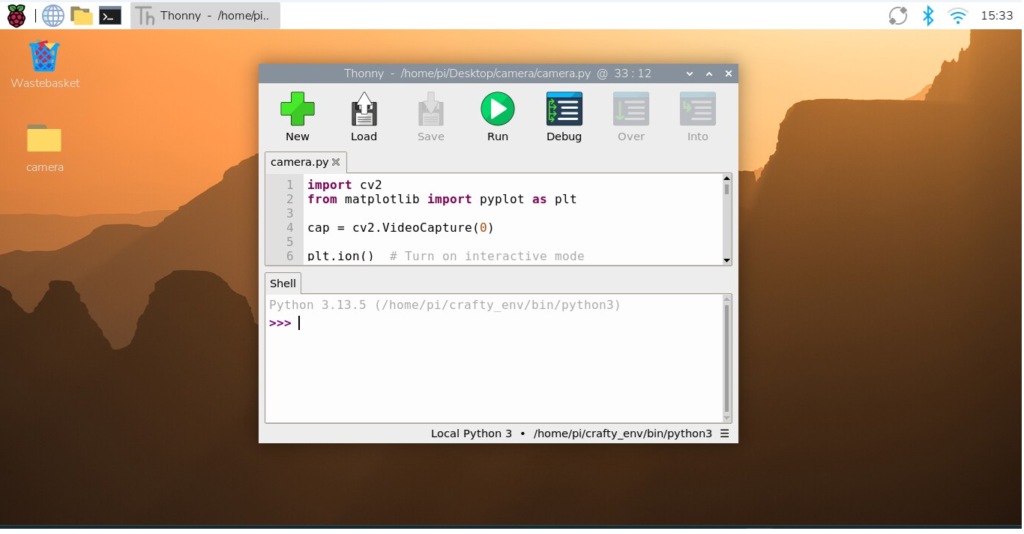
STEP 6: Run the Program in Thonny.
Result
You should now see:
- A live video feed from your USB camera
- Real-time display on your Raspberry Pi
👉 Move your hand in front of the camera to test it.
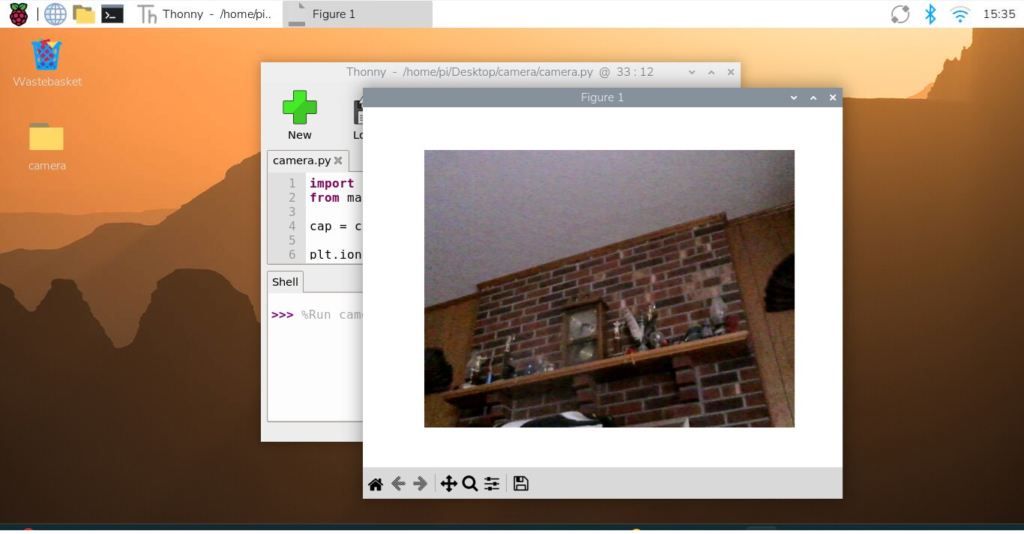
✅ Success!
You now have a fully working USB camera feed using OpenCV on your Raspberry Pi.
What’s Next?
Now that your camera works, you can build:
- Motion detection
- Object tracking
- AI-powered vision systems
Watch the video!