
The Raspberry Pi 5 is a tiny computer with huge potential. From coding and electronics to robotics and AI projects, this little board can power some seriously cool creations. This guide will help you get everything set up and running step by step, so you can go from unboxing to building in no time — even if this is your first time using a Pi.
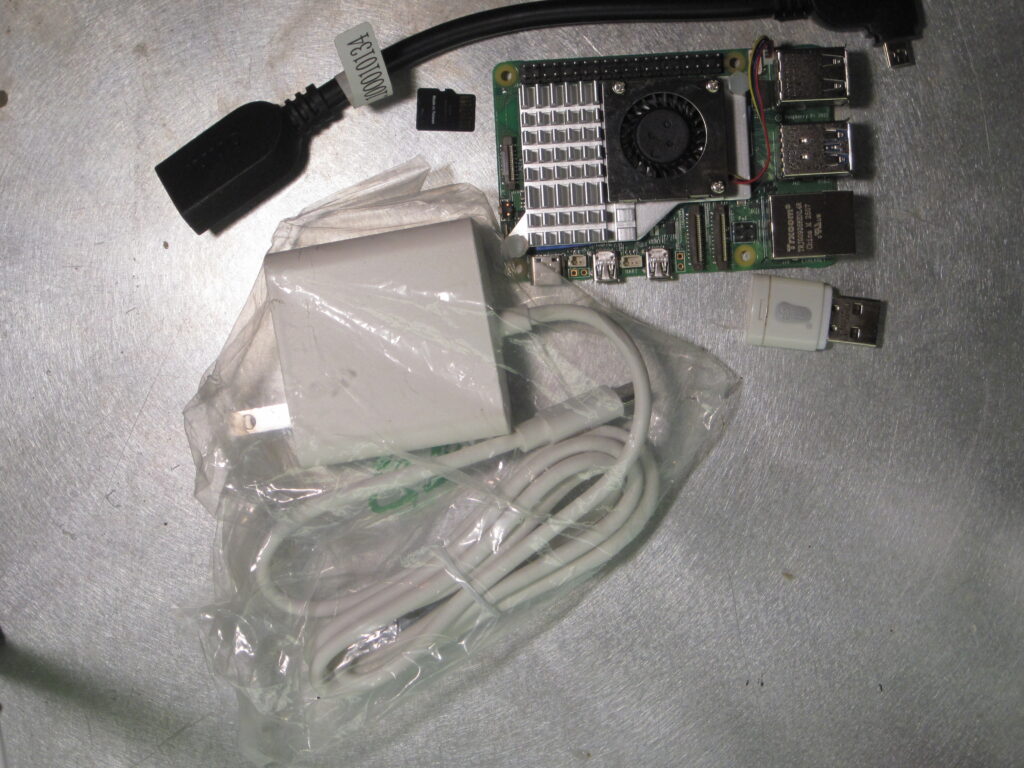
What You’ll Need
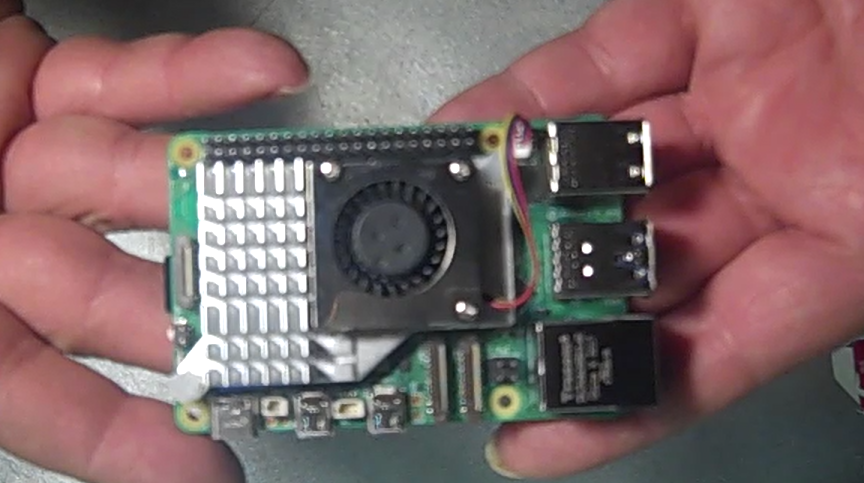
- Raspberry Pi 5
- microSD card (16GB minimum, 32GB or larger recommended )
- microSD card reader (USB)
- USB-C power supply (5V / 5A recommended)
- HDMI cable and monitor
- USB keyboard and mouse
- A computer (Windows, macOS, or Linux)
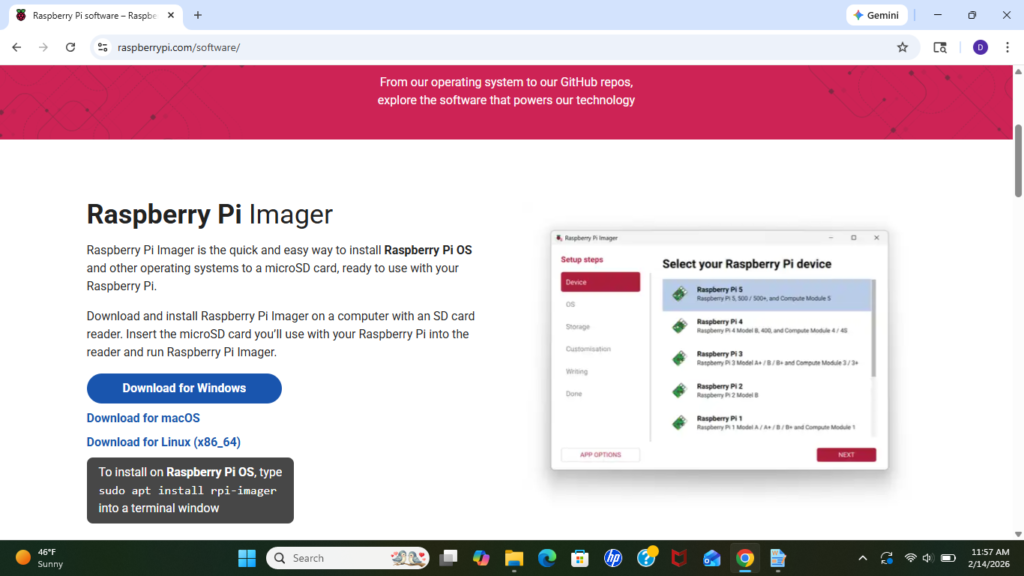
Step 1 – Download Raspberry Pi Imager
Raspberry Pi Imager is the official tool used to install an operating system onto a microSD card. It simplifies the setup process and ensures compatibility with Raspberry Pi hardware.
- Visit the Raspberry Pi website (https://www.raspberrypi.com/)
- Download Raspberry Pi Imager for your operating system (https://www.raspberrypi.com/software/)
- Install and open the application
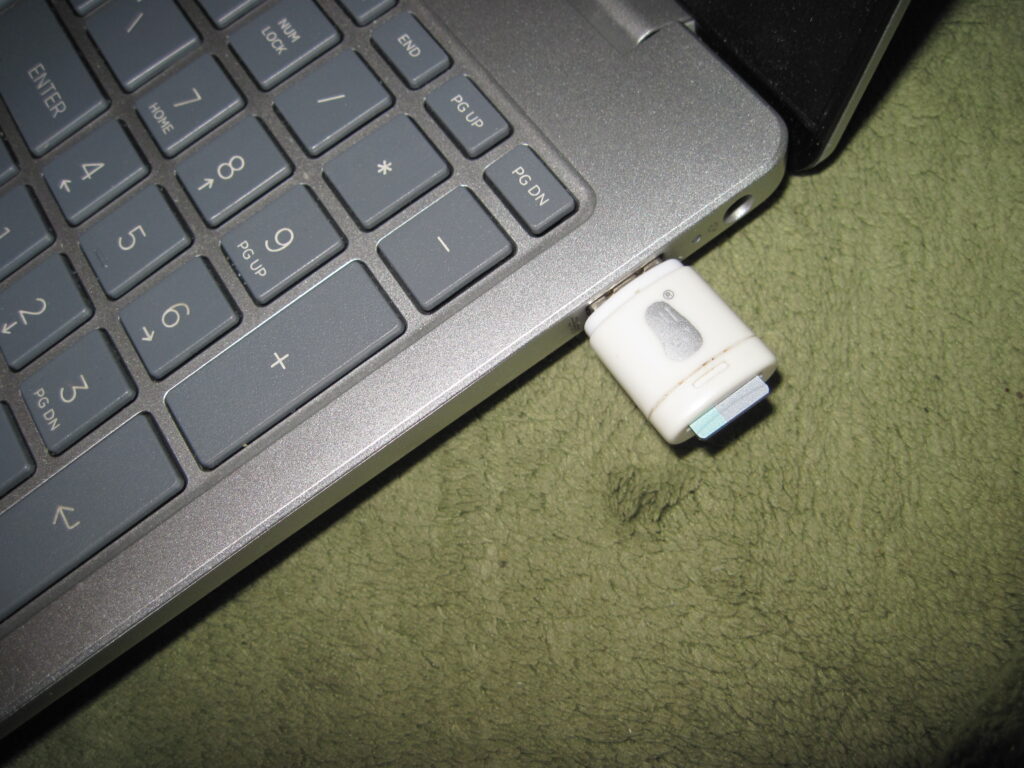
Step 2 – Insert the microSD Card
Insert your microSD card into your computer using a USB card reader. Any existing data on the card will be erased during setup.
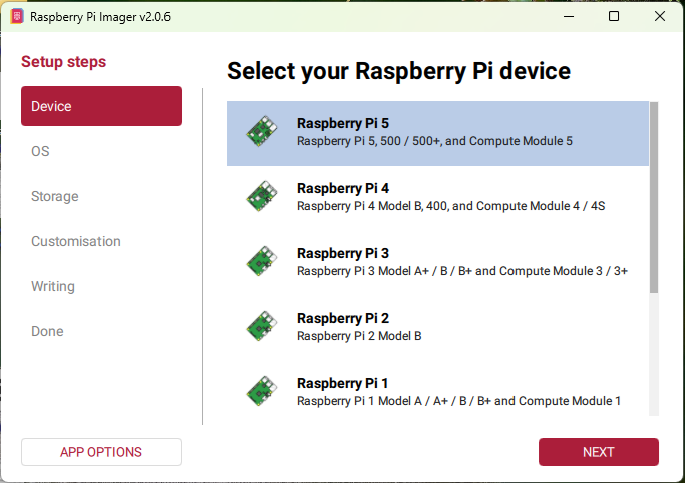
Step 3 – Choose the Operating System
Inside Raspberry Pi Imager, select the operating system you want to install. Raspberry Pi OS (64-bit) is recommended for most users and works best with the Raspberry Pi 5.
- Click “Choose OS”
- Select “Raspberry Pi OS (64-bit)”
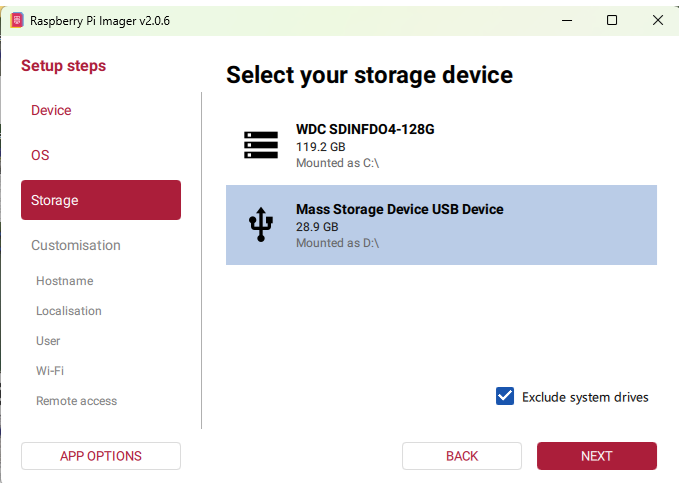
Step 4 – Select the Storage Device
Choose the microSD card you inserted earlier. Make sure the correct storage device is selected to avoid erasing the wrong drive.
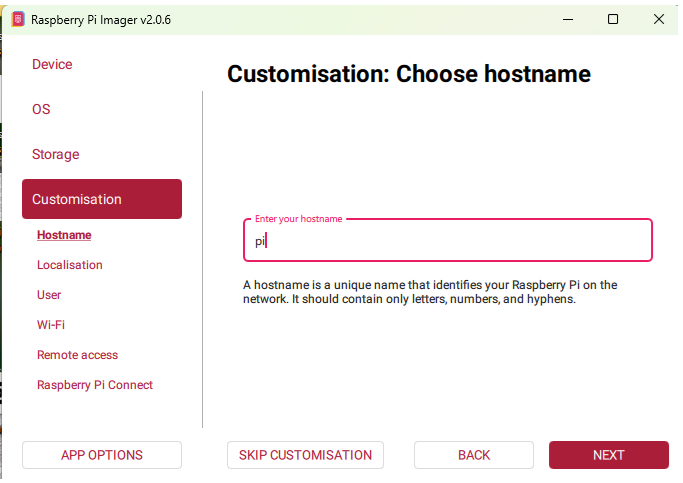
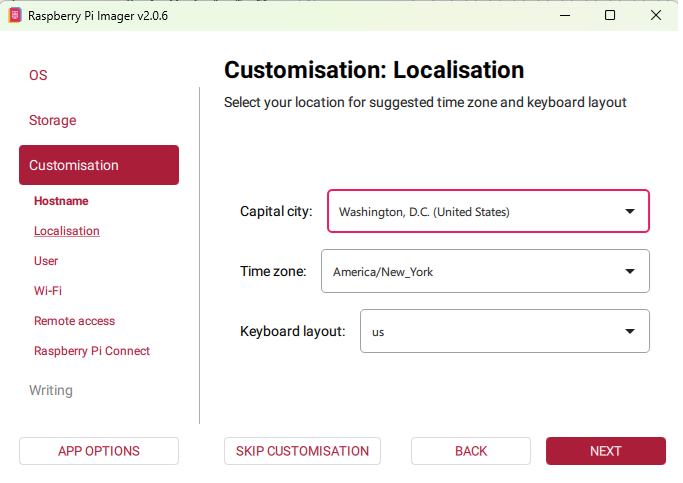
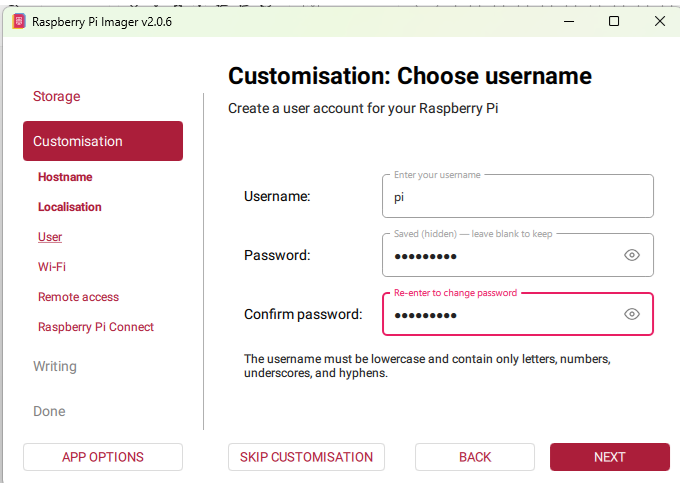
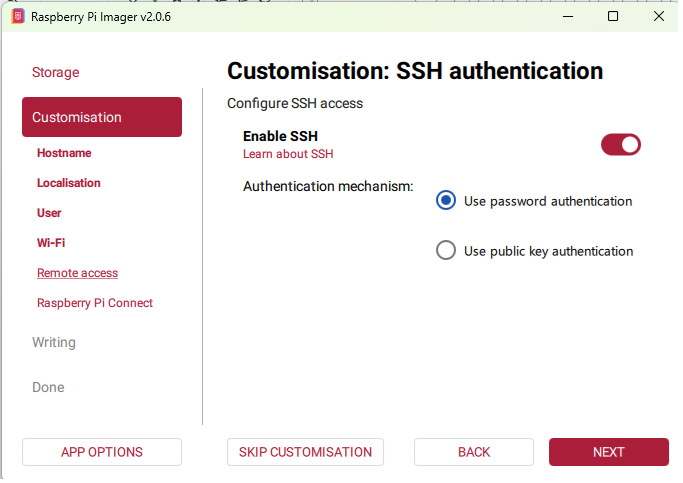
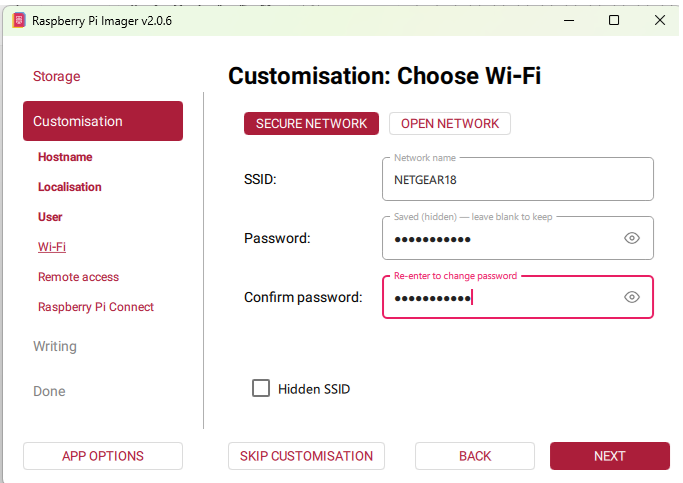
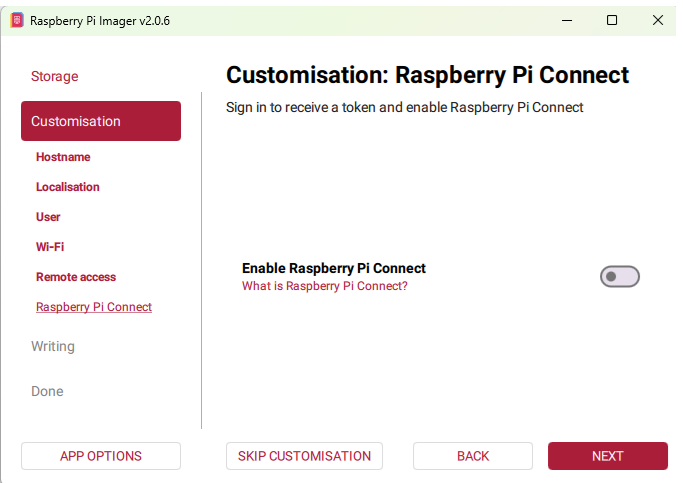
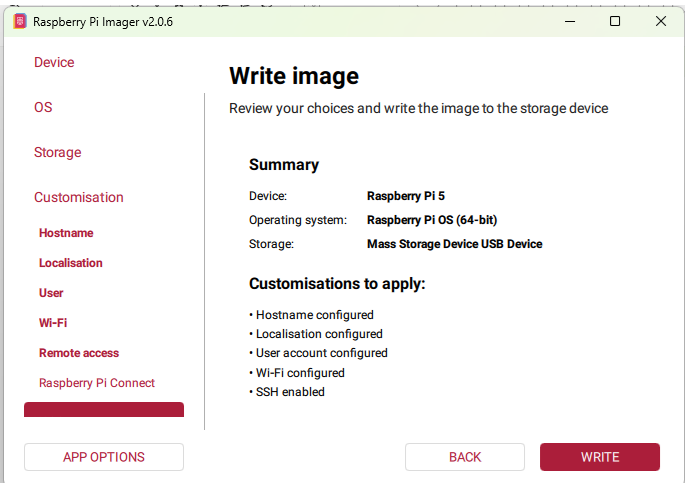
Step 5 – Optional OS Customization
Before writing the operating system, you can pre-configure settings such as Wi-Fi, SSH access, and login credentials. This can save time after the first boot.
- Set a hostname
- Choose Location
- Set username and password
- Enable SSH
- Configure Wi-Fi
- Raspberry Pi connect
Pre-configuring Wi-Fi and SSH can make your first boot faster and easier.
All data on the microSD card will be permanently erased.
Step 6 – Write the Operating System
Click “Write” to begin installing the operating system onto the microSD card. This process may take several minutes.
Step 7 – Insert the microSD Card into the Raspberry Pi 5
Once writing is complete, remove the microSD card from your computer and insert it into the microSD card slot on the Raspberry Pi 5.

Step 8 – Connect Peripherals
Connect the necessary peripherals to your Raspberry Pi before powering it on.
- HDMI cable to monitor
- Keyboard and mouse
- Ethernet cable (optional)
- Connect power last
Step 9 – First Boot
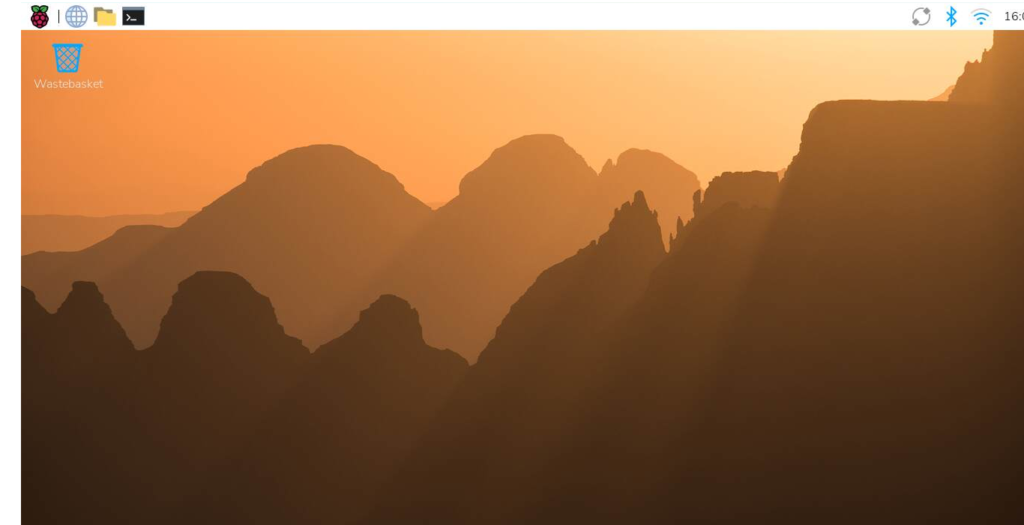
Plug in the USB-C power supply. The Raspberry Pi 5 will power on automatically and boot into Raspberry Pi OS. Follow the on-screen setup instructions to complete configuration.
What’s Next?
Your Raspberry Pi 5 is now set up and ready to use. From here, you can explore the desktop, learn basic terminal commands, or start building projects using GPIO, Python, and more.