Vosk is useful for robotics projects because it can convert spoken words into text without requiring an internet connection. This makes it a great choice for Raspberry Pi robots and other voice-controlled projects.
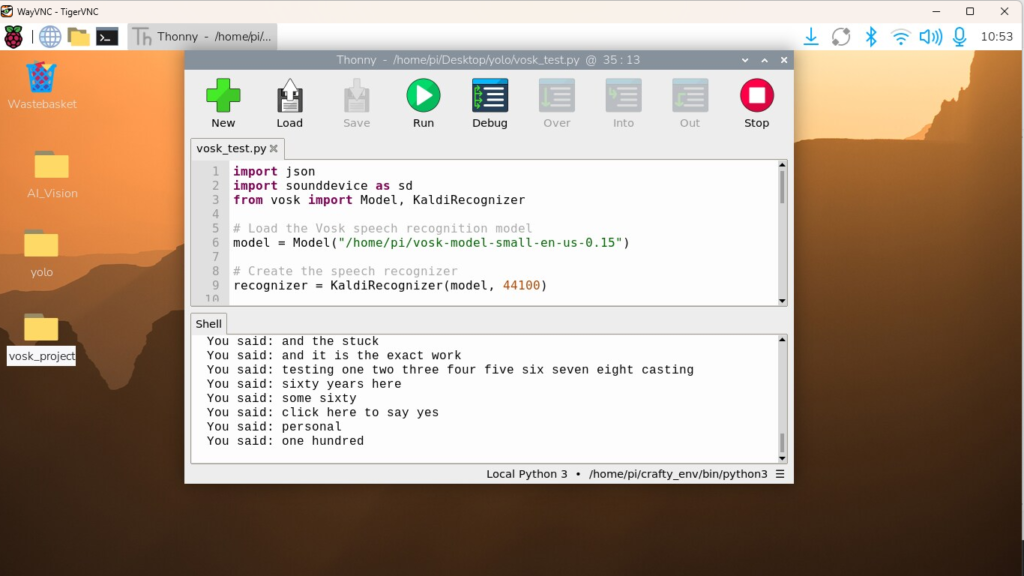
In this tutorial, we’ll install Vosk, an offline speech-recognition system, on a Raspberry Pi.
What You’ll Need:
- Raspberry Pi
- Raspberry Pi OS
- USB microphone or other compatible microphone
We’ll install Vosk, the Python sounddevice library, and the PortAudio development package. Then we’ll download and extract a small English Vosk speech-recognition model.
Step 1: Open the Terminal
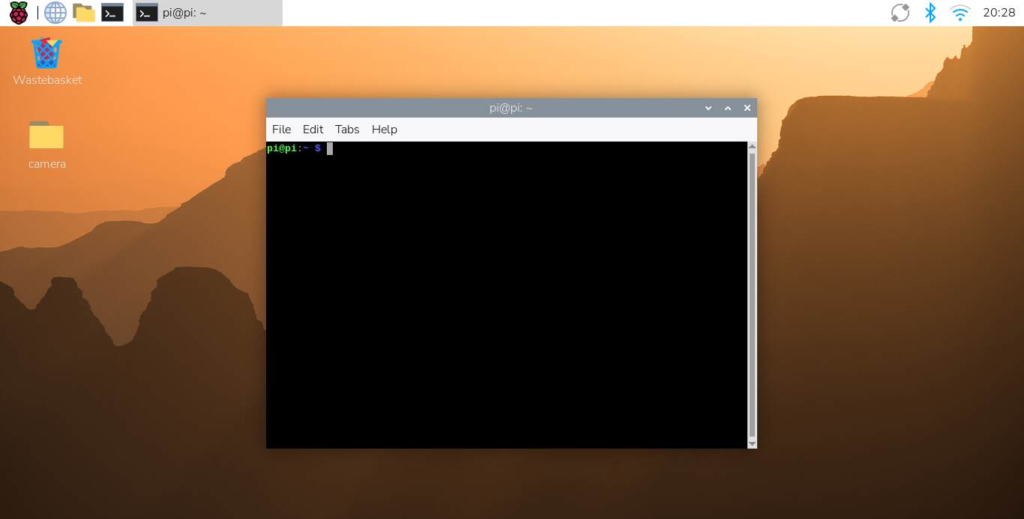
First, open a terminal on your Raspberry Pi.
You can find the Terminal application in the Raspberry Pi menu, or you can connect to the Pi using SSH.
Step 2: Activate the CraftyRobotics Virtual Environment
For this tutorial, we’ll use the CraftyRobotics Python virtual environment that was created in our previous Raspberry Pi setup tutorial.
If you haven’t created the CraftyRobotics virtual environment yet, follow our [CraftyRobotics Raspberry Pi Python Virtual Environment tutorial] first.
Once the virtual environment has been created, open the Terminal and activate it:
source ~/crafty_env/bin/activateWhen the virtual environment is active, you should see something similar to this at the beginning of your terminal prompt:
(crafty_env)Now we’re ready to install Vosk and the other required packages.
Step 3: Install Vosk
Enter the following command:
pip install voskPress Enter and allow pip to install Vosk and its required Python packages.
Vosk provides the speech-recognition engine that will convert the audio from the microphone into text.
Step 4: Install SoundDevice
Next, install the Python sounddevice package:
pip install sounddeviceThe sounddevice library allows Python to communicate with your microphone and capture audio.
Step 5: Install PortAudio
The sounddevice library uses PortAudio to communicate with audio devices.
Install it with:
sudo apt-get install portaudio19-devIf prompted to continue with the installation, type:
Yand press Enter.
Step 6: Download the Vosk Speech Model
Vosk needs a speech model to understand spoken language.
For this tutorial, we’ll use the small English model. Download it with:
wget http://alphacephei.com/vosk/models/vosk-model-small-en-us-0.15.zipThis downloads the model ZIP file to the current directory.
The small model is a good choice for a Raspberry Pi because it requires fewer resources than the larger Vosk models.
Step 7: Verify the Vosk Model
After the Vosk model finishes downloading, it may automatically extract itself, depending on the Raspberry Pi environment or download process you are using.
Check the contents of the current directory:
lsYou should see a folder named:
vosk-model-small-en-us-0.15This folder contains the files Vosk needs to perform speech recognition.
You do not need to unzip the model again if the folder has already been created.
If you see the vosk-model-small-en-us-0.15 folder, the model is ready to us
If the model did not unzip automatically, you can extract it manually with:
unzip vosk-model-small-en-us-0.15.zipThen run:
lsYou should now see:
vosk-model-small-en-us-0.15Once this folder is present, the Vosk model is ready to use.
Step 8: Connect the Plug-and-Play Microphone
Now let’s connect the microphone we’ll use with Vosk.
For this tutorial, we’ll use a USB plug-and-play microphone. Simply plug the microphone into an available USB port on your Raspberry Pi.
No special drivers should be required for most USB microphones. Raspberry Pi OS should detect the microphone automatically.
To check that the Raspberry Pi can see the microphone, open the Terminal and enter:
arecord -lYou should see your USB microphone listed as one of the available recording devices.
If your microphone appears in the list, we’re ready to test it with Vosk.
Step 9: Create the Vosk Test Program in Thonny
Now we’ll create a simple Python program that listens to the microphone and displays the words it recognizes.
We’ll use Thonny to write and run the program.
Open Thonny from the Raspberry Pi menu.
Before running the program, make sure Thonny is using the CraftyRobotics virtual environment we activated earlier.
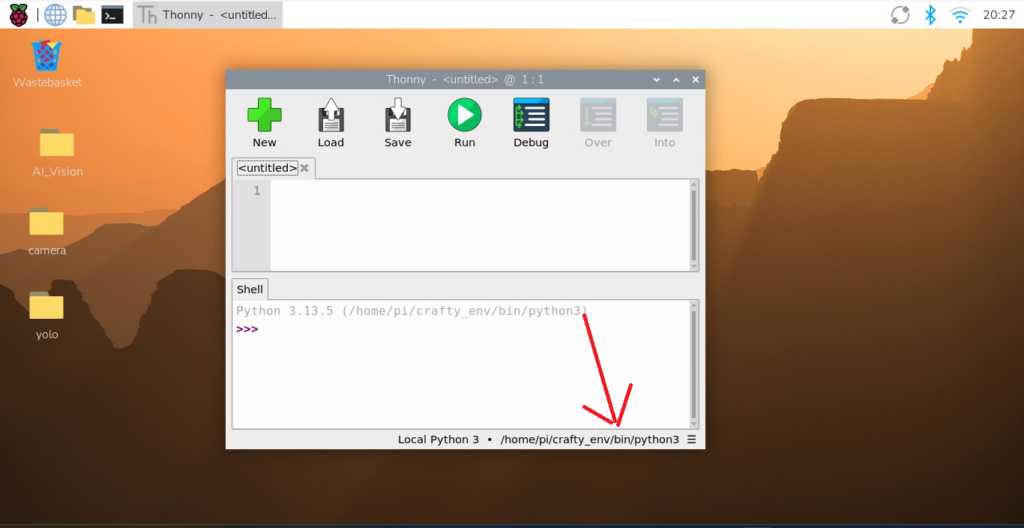
Create a new Python code:
import json
import sounddevice as sd
from vosk import Model, KaldiRecognizer

# Load the Vosk speech recognition model
model = Model("/home/pi/vosk-model-small-en-us-0.15")

# Create the speech recognizer
recognizer = KaldiRecognizer(model, 44100)

print("Vosk is ready!")
print("Speak into the microphone.")
print("Press Ctrl+C to stop.")

def callback(indata, frames, time, status):
    if status:
        print("Audio status:", status)

    if recognizer.AcceptWaveform(bytes(indata)):
        result = json.loads(recognizer.Result())
        text = result.get("text", "")

        if text:
            print("You said:", text)

with sd.RawInputStream(
    device=0,
    samplerate=44100,
    blocksize=8000,
    dtype="int16",
    channels=1,
    callback=callback
):
    while True:
        pass
Microphone Sample Rate
USB microphones can use different sample rates. In our test, the USB microphone uses 44,100 Hz (44.1 kHz), so the Vosk example is configured for 44,100 Hz.
If your microphone uses a different sample rate, check it with the SoundDevice device-checking code and use that rate in both the KaldiRecognizer and RawInputStream settings.
Step 10: Create a Project Folder
Let’s create a folder on the Desktop to keep our Vosk program organized.
- Right-click on an empty area of the Desktop.
- Select Create New → Folder.
- Name the folder:
vosk_project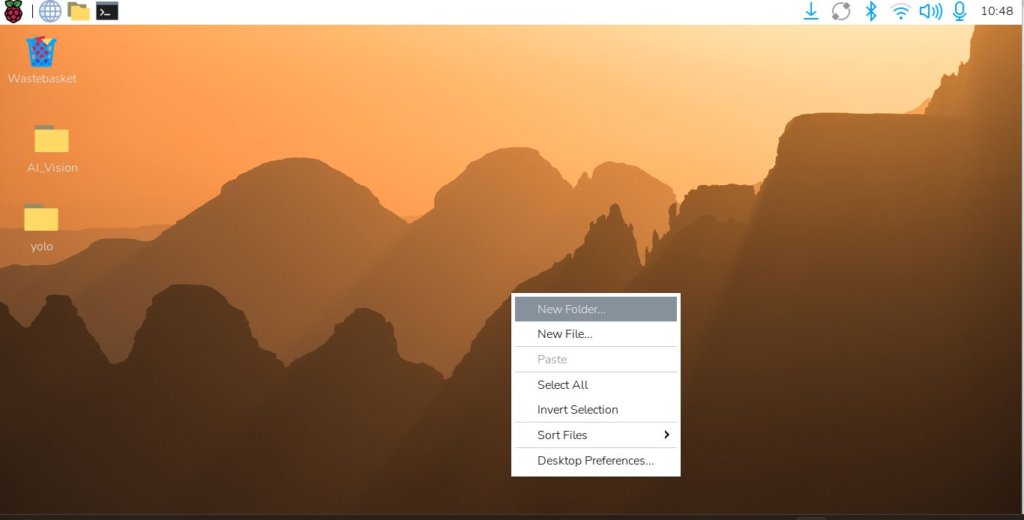
We’ll save our Python program in this folder.
Next, open Thonny and create a new Python file. Save it as:
vosk_test.pyStep 11: Add and Run the Vosk Program
Copy the Vosk code and paste it into the upper window in Thonny.
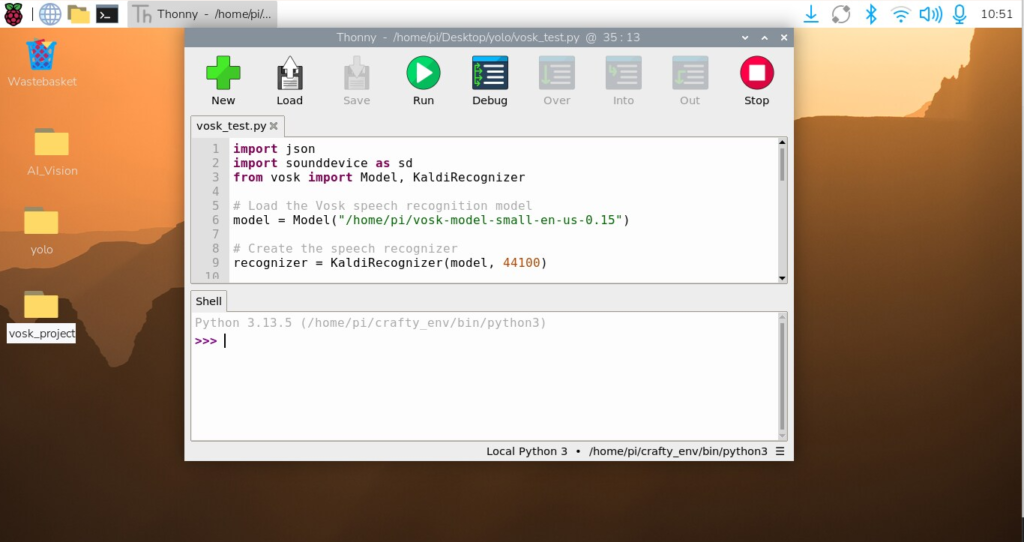
Once the code is pasted:
- Click Save and save the file as
vosk_test.pyin yourvosk_projectfolder. - Click the Run button in Thonny.
- Speak into your USB microphone.
If everything is working correctly, the program will display the words it recognizes in the Shell window at the bottom of Thonny.
Chick it out on YouTube!