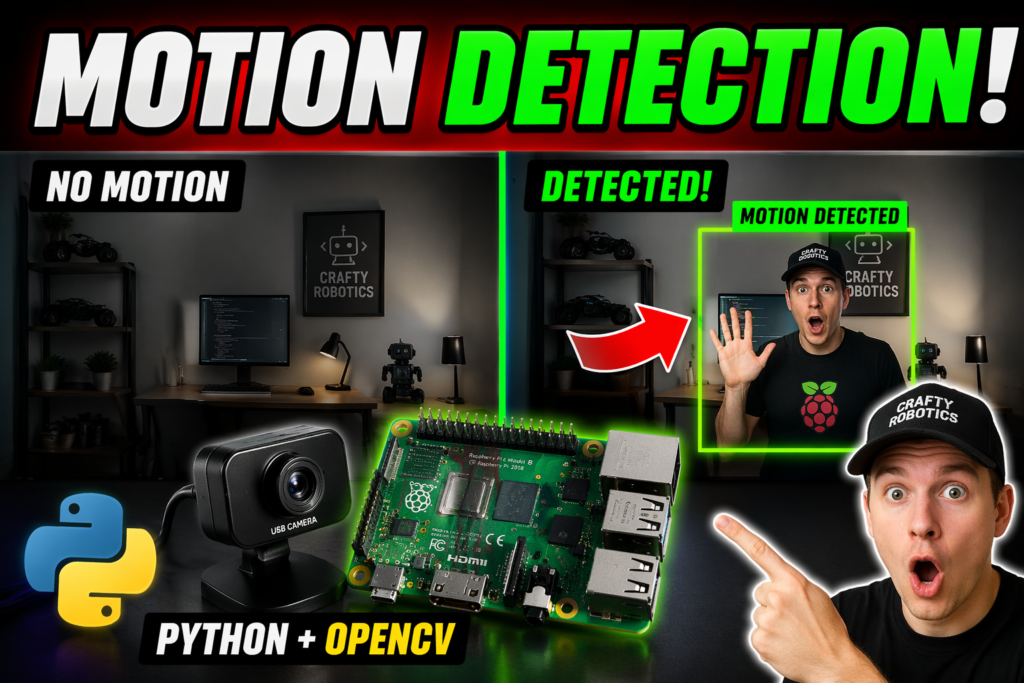
In this tutorial, you’ll build a motion detection system that:
Detects movement instantly
Draws a box around moving objects
Runs smoothly on a Raspberry Pi
Works directly inside Thonny
This is the starting point for real AI systems like:
Security cameras
Wildlife monitoring
Smart automation
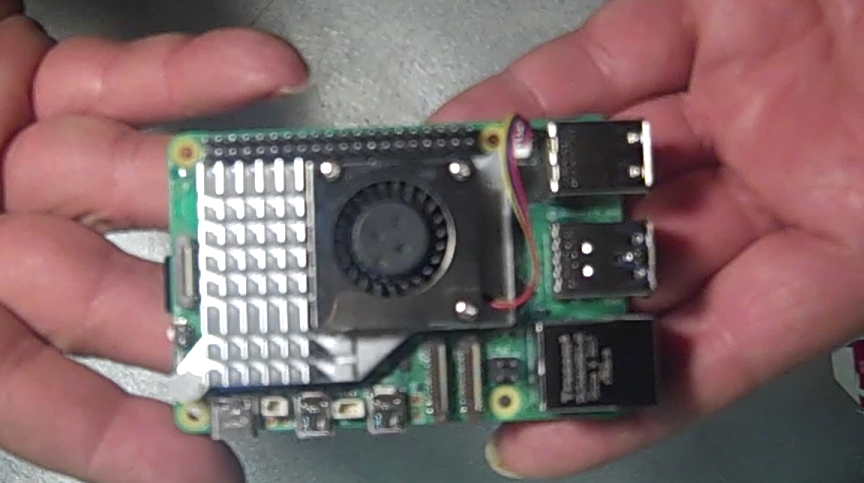
What you will need.
Hardware:
Raspberry Pi (3,4 or 5)
USB Camera
Software:
Python 3 (via Thonny)
OpenCV install
HOW IT WORKS
Instead of using AI, we use a simpler method:
Step-by-step logic:
Capture two frames
Compare them
Detect changes
Highlight motion
If pixels change → something moved.
Plug your USB camera into one of the Raspberry PI USB ports.
Step 1: On your Raspberry Pi:
Open Thonny:
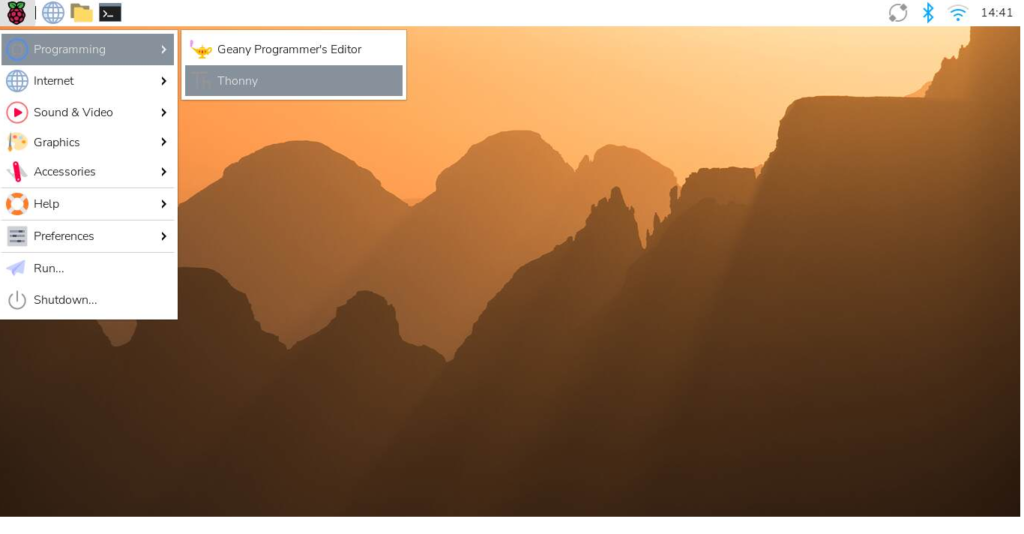
Click Menu (top left)
Go to Programming
Click Thonny Python IDE
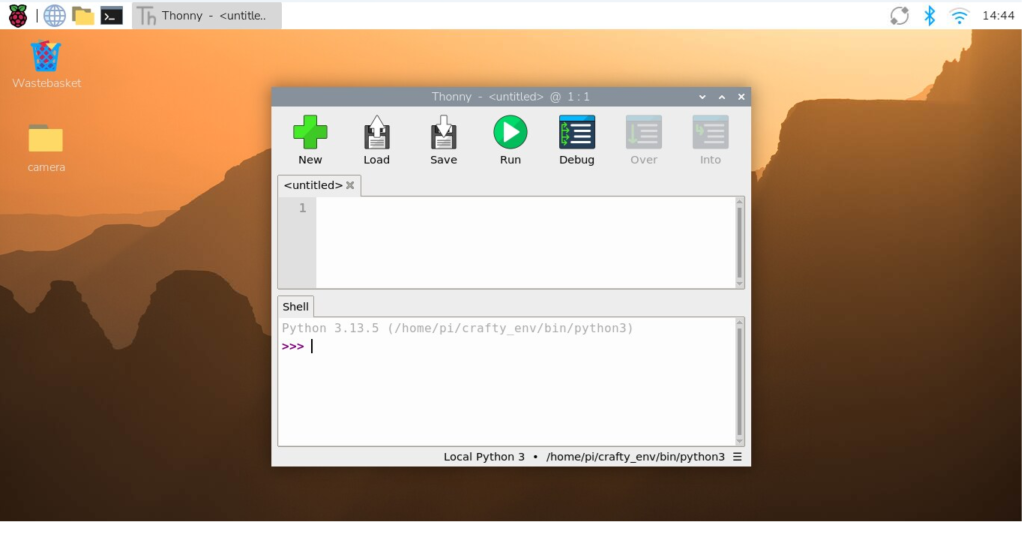
Step2: Verify OpenCV is installed.
In the lower Thonny window (Shell), type:
import cv2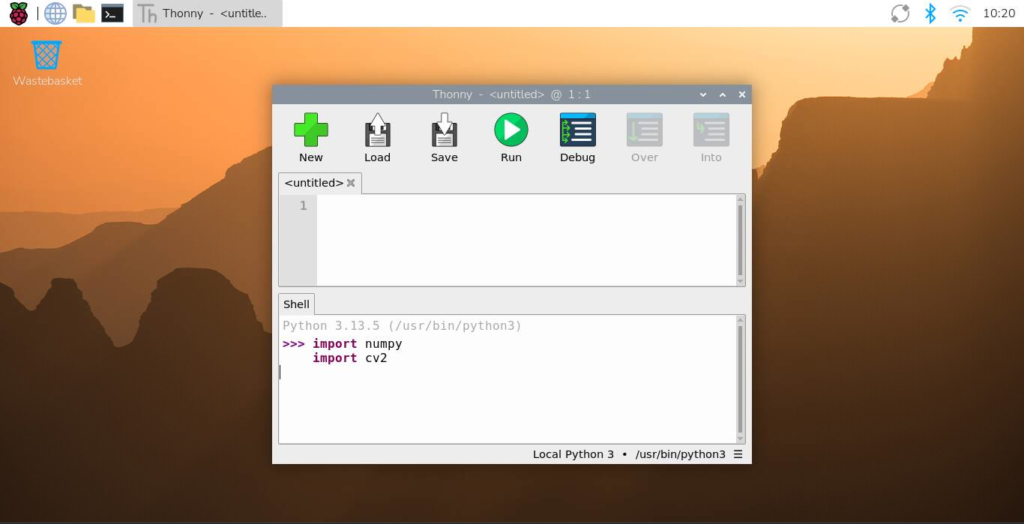
Press Enter.
- If no error appears, OpenCV is installed correctly and you’re ready to continue.
- If you get an error (like
ModuleNotFoundError), follow the Crafty Robotics tutorial on setting up virtual environments in Thonny to install OpenCV properly.
Step 3: Code
import cv2
from matplotlib import pyplot as plt

# Connect to camera
cap = cv2.VideoCapture(0)

# Read initial frames
ret, frame1 = cap.read()
ret, frame2 = cap.read()

# Setup Matplotlib window
plt.ion()
fig, ax = plt.subplots(figsize=(8, 5))
ax.axis('off')
im = None

# Main loop
while cap.isOpened():

    # Find difference between frames
    diff = cv2.absdiff(frame1, frame2)

    # Process image
    gray = cv2.cvtColor(diff, cv2.COLOR_BGR2GRAY)
    blur = cv2.GaussianBlur(gray, (5, 5), 0)
    _, thresh = cv2.threshold(blur, 20, 255, cv2.THRESH_BINARY)
    dilated = cv2.dilate(thresh, None, iterations=3)

    # Find contours
    contours, _ = cv2.findContours(dilated, cv2.RETR_TREE, cv2.CHAIN_APPROX_SIMPLE)

    # Draw boxes around motion
    for contour in contours:
        if cv2.contourArea(contour) < 1000:
            continue

        x, y, w, h = cv2.boundingRect(contour)
        cv2.rectangle(frame1, (x, y), (x + w, y + h), (0, 255, 0), 2)

    # Convert to RGB for Matplotlib
    frame_rgb = cv2.cvtColor(frame1, cv2.COLOR_BGR2RGB)

    # Display using Matplotlib
    if im is None:
        im = ax.imshow(frame_rgb)
    else:
        im.set_data(frame_rgb)

    plt.pause(0.001)

    # Update frames
    frame1 = frame2
    ret, frame2 = cap.read()

    if not ret:
        break

    # Exit if window is closed
    if plt.get_fignums() == []:
        break

# Cleanup
cap.release()
plt.close()
This section explains exactly what each part of the code is doing.
Import Libraries
import cv2
from matplotlib import pyplot as plt- import
cv2→ loads OpenCV for camera access and image processing - import
pyplot→ from Matplotlib for displaying the video feed
Connect to Camera
cap = cv2.VideoCapture(0)Capture Initial Frames
ret, frame1 = cap.read()
ret, frame2 = cap.read()- Reads two frames from the camera
- These will be compared to detect motion
Setup Display Window
plt.ion()
fig, ax = plt.subplots(figsize=(8, 5))
ax.axis('off')
im = Noneplt.ion()→ enables live updating- Creates a display window
- Hides axes for a clean look
imstores the image for updating each frame
Main Loop
while cap.isOpened():- Runs continuously while the camera is active
Frame Difference
diff = cv2.absdiff(frame1, frame2)- Compares two frames
- Highlights what has changed (motion)
Image Processing
gray = cv2.cvtColor(diff, cv2.COLOR_BGR2GRAY)- Converts image to grayscale (simpler processing)
blur = cv2.GaussianBlur(gray, (5, 5), 0)- Smooths the image to reduce noise
thresh = cv2.threshold(blur, 20, 255, cv2.THRESH_BINARY)- Turns motion areas white, everything else black
dilated = cv2.dilate(thresh, None, iterations=3)- Expands white areas to make motion easier to detect
Find Motion Areas
contours, _ = cv2.findContours(dilated, cv2.RETR_TREE, cv2.CHAIN_APPROX_SIMPLE)- Detects outlines (contours) of moving objects
Filter Small Movements
for contour in contours:
    if cv2.contourArea(contour) < 1000:
continue- Ignores tiny movements (noise, flicker, etc.)
Draw Bounding Boxes
x, y, w, h = cv2.boundingRect(contour)
cv2.rectangle(frame1, (x, y), (x + w, y + h), (0, 255, 0), 2)- Draws a green rectangle around detected motion
Convert Color for Display
frame_rgb = cv2.cvtColor(frame1, cv2.COLOR_BGR2RGB)- Converts OpenCV’s BGR format to RGB for Matplotlib
Display Frame
if im is None:
    im = ax.imshow(frame_rgb)
else:
im.set_data(frame_rgb)- First frame → create image
- Next frames → update image
plt.pause(0.001)- Allows the display to refresh
Update Frames
frame1 = frame2
ret, frame2 = cap.read()- Moves to the next frame pair
Stop if Camera Fails
if not ret:
break- Ends the program if frame capture fails
Exit When Window Closes
if plt.get_fignums() == []:
break- Stops the program when the display window is closed
Cleanup
cap.release()
plt.close()- Releases the camera
- Closes the display window
Summary
This program:
- Captures live video
- Compares frames to detect motion
- Processes the image to isolate movement
- Draws boxes around moving objects
- Displays everything in real time
Step 4: Paste the Code in Thonny
Open the Thonny editor and follow these steps:
- Copy the full motion detection code
- In the upper window (editor area), click inside the blank file
- Paste it into the editor
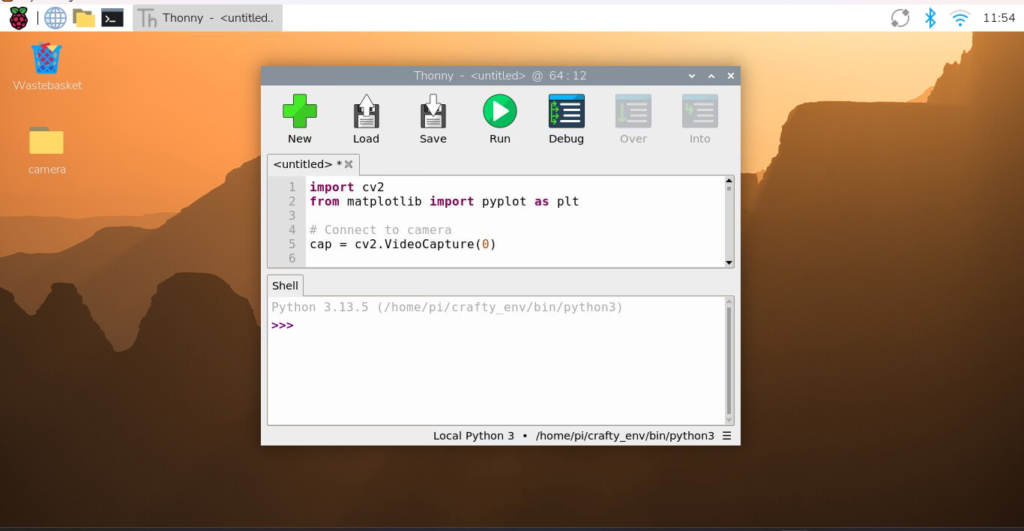
Step 5: Save the code.
Use the USB Camera Folder
We’ll reuse the same folder from our previous USB camera tutorial.
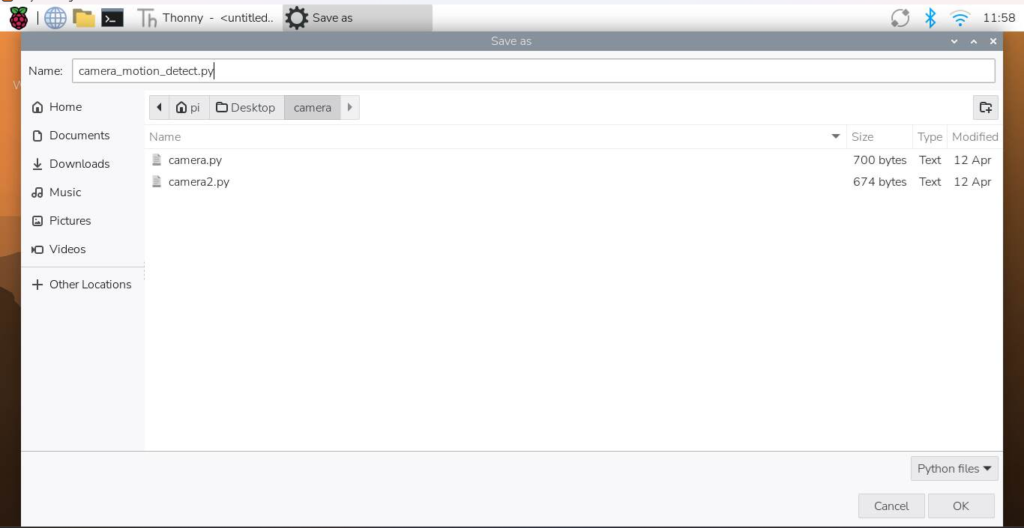
- Click save.
- Navigate to your existing camera folder (the one you used for the USB camera project)
Save the file as:
camera_motion_detect.pyClick OK. to save the file.
Step 6: Run the program
Click the Run button at the top of Thonny:
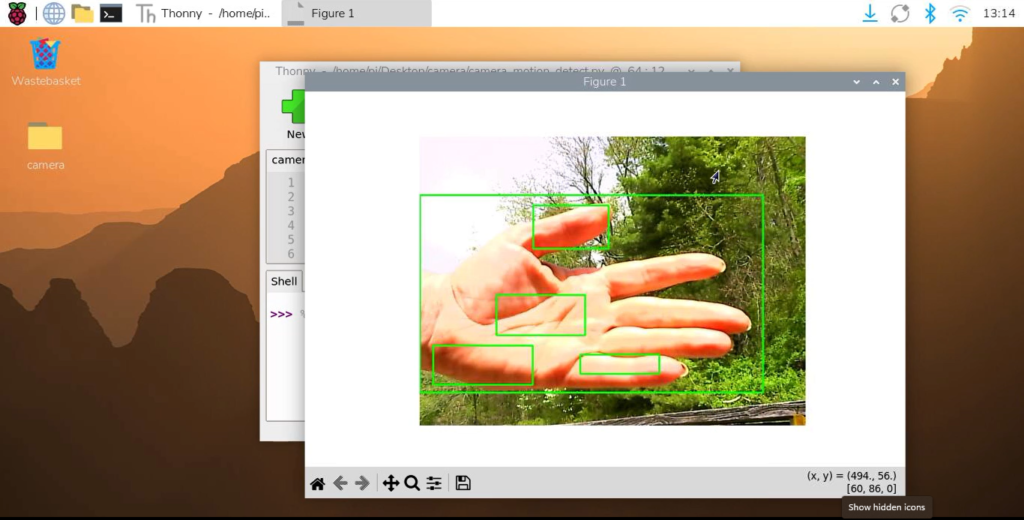
What You Should See
- A live camera window opens
- The system begins comparing frames
- When movement happens, green boxes appear around it
What’s Next?
Now that you’ve built a working motion detection system, you’ve already taken your first step into computer vision with Python using OpenCV.
Upgrade this into:
YOLO AI object detection
Smart recording only on motion
Alerts to phone
Robot vision systems
Check back often — there’s a lot more on the way!
Check out the video on YouTube!